A Behind-the-Scenes Guide to the Sequencing, Milestones, and Quality Benchmarks of Active Construction
When prospective custom homebuyers envision building along the Wasatch Front, their minds naturally jump to two main chapters: the early drafting phase, when plans take shape on paper, and the final weeks, when gleaming countertops, custom millwork, and hardwood floors are unveiled.
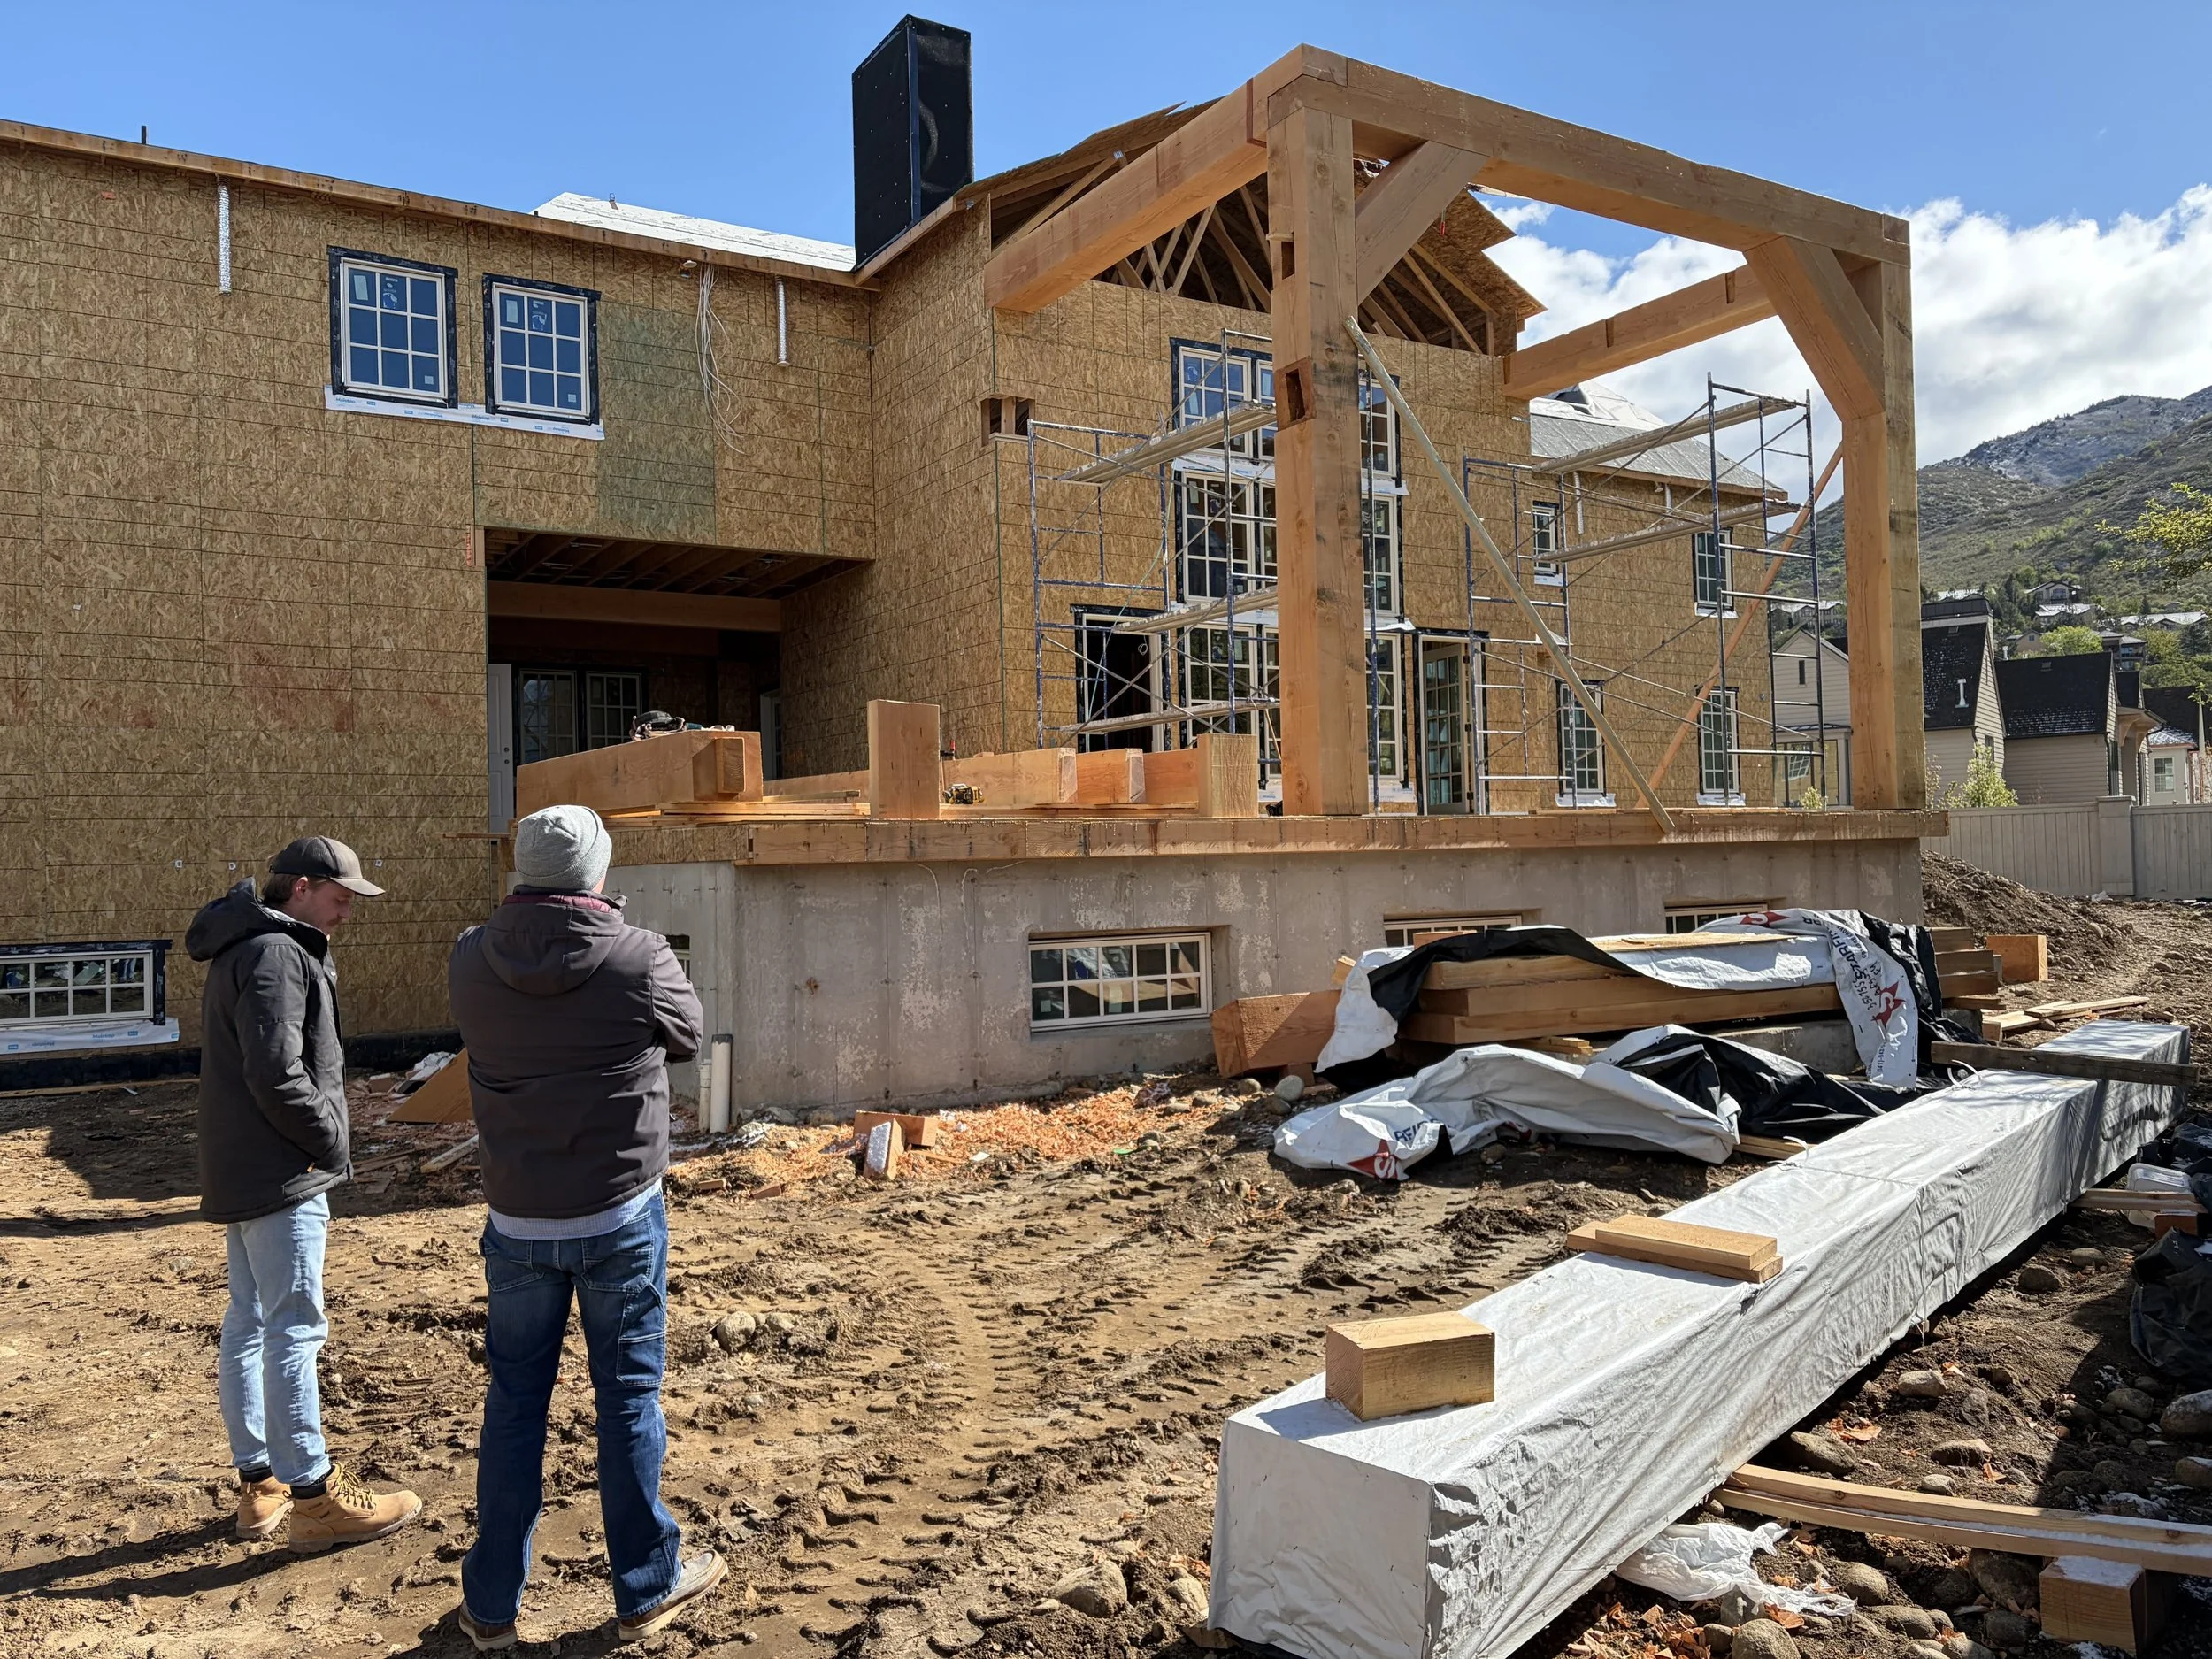
Between those exciting bookends lies what the construction world calls the rough-in phase: the critical months of active job-site momentum where raw architectural blueprints transform into a structurally sound, weather-tight residential building envelope.
For many homeowners, this middle phase can feel like a complex black box. Once excavation equipment rolls in, a coordinated dance of structural engineering, heavy civil trades, and mechanical craftspeople takes over.
Here’s how Gordon Milar Construction navigates the physical sequence from moving dirt to hanging sheetrock, and how our project managers protect quality at every turn.
1. Excavation, Footings, and Foundation Engineering
Before any wood framing can begin, the home requires a rock-solid foundation tailored to Northern Utah’s distinct regional geology. Following site grading and elevation benchmark setting, excavation crews dig out the basement and crawlspace footprints.
In our climate, building science dictates strict standards: continuous footings must sit below the native frost depth (at least 30 inches deep) to withstand harsh freeze-thaw cycles. We form stepped footings and reinforced concrete retaining walls on foothill slopes, and integrate dedicated concrete brick ledges for masonry exteriors. Once the team pours, strips, and damp-proofs concrete foundation walls, it places perimeter drain lines and clean gravel backfill before framing begins.
2. Structural Framing and Weatherization ("Dried-In")
Framing is where the two-dimensional plan suddenly becomes three-dimensional. Over several weeks, master carpenters assemble the floor systems, load-bearing exterior and interior walls, structural steel beams, and engineered roof truss packages.
Along the Wasatch Front, framing requires careful engineering for high alpine snow loads and seismic forces. Project managers monitor hold-downs, point loads, hurricane ties, and shear-wall nail patterns down to the millimeter. At the same time, the exterior envelope is wrapped in weather-resistive barriers, roof underlayment is installed, and energy-efficient windows and exterior doors are flashed and set. Reaching "dry-in" status means the interior skeleton is officially shielded from rain and snow.
3. Rough-In Mechanicals: HVAC, Plumbing, and Electrical
With the home fully enclosed, the mechanical trades arrive in a tightly orchestrated sequence:
HVAC / Mechanical: Duct runs, return-air pathways, high-efficiency ventilation, and furnace exhausts are mapped to balance airflow across vaulted ceilings and open layouts without compromising architectural sightlines
Rough-In Plumbing: Route supply lines, drain-waste-vent piping, and gas lines; cap and pressure-test PEX water supply lines and drain systems under static air or water pressure to ensure leak-free integrity
Rough-In Electrical & Low-Voltage: Electricians run wiring for service panels, dedicated high-draw appliance circuits, recessed can lighting, and smart home automation hubs; they secure steel nail-strike plates over studs wherever pipes or wires pass through to protect them from future fasteners
4. The Pre-Drywall Walkthrough & 3D Scanning
Before covering the studs, we invite you on-site for the milestone four-way walkthrough. Walking the open framing alongside your dedicated project manager lets you confirm outlet heights, switch locations, wall niches, and appliance feeds in real-life space. To ensure permanent transparency and serve as a resource for the lifetime of your home, we offer an à la carte 3D digital scan of the entire interior, giving you a digital "X-ray" of all behind-the-wall infrastructure.
5. Envelope Insulation and Air Sealing
The final step before drywall is building envelope insulation. The team installs thermal insulation (a hybrid of fiberglass batts, blown-in cellulose, and expanding spray foam) across exterior wall cavities, cantilevers, and rim joists. Continuous air-sealing around plumbing stacks, electrical penetrations, and window perimeters keeps drafts out and heating/cooling efficiency locked inside.
Once municipal building inspectors grant final four-way approvals, the job site transitions immediately to drywall, transforming open framing into crisp, light-filled rooms ready for the artisan finish stage.