The Designer’s Roadmap: What to Select First (and How to Avoid Showroom Overwhelm)
Why Establishing an Anchor Finish, Testing Physical Samples Under Natural Light, and Sequencing Vendor Milestones Keep Your Custom Build on Track
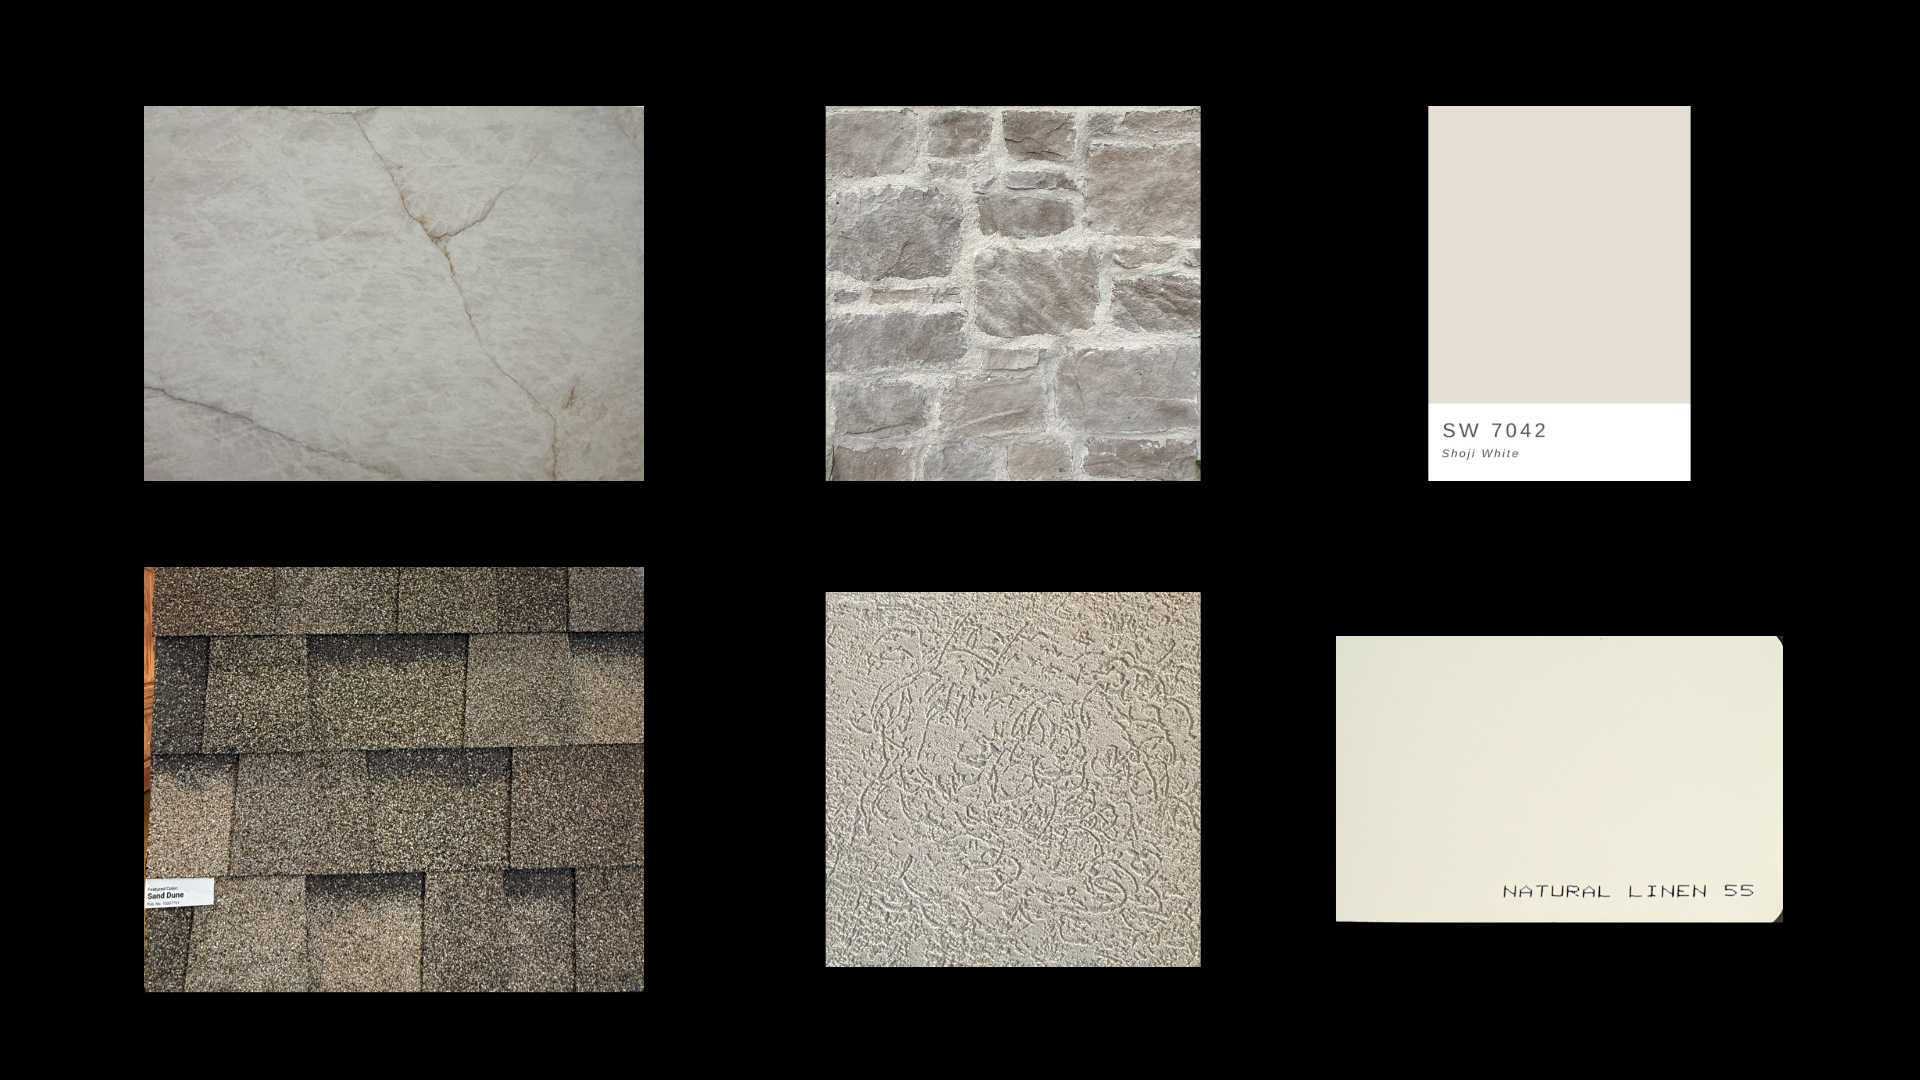
Stepping into an interior design showroom with hundreds of stone slabs, tile patterns, and cabinet profiles can be exhilarating, until decision fatigue sets in. For many custom homebuyers along the Wasatch Front, the sheer volume of choices quickly turns an exciting milestone into showroom overwhelm.
At Gordon Milar Construction, our decades of custom building have shown that eliminating stress comes down to following an intentional, phased selection sequence. When you build a cohesive interior palette from the ground up, every decision naturally informs the next.
1. Establish Your Anchor Finish First
The most common mistake in finish selection is picking accent tile or paint colors in isolation. While you can easily customize paint to virtually any shade, the color in natural hard surfaces is locked in. Always begin with your anchor finish, the continuous element that covers the largest square footage or makes the boldest focal statement. For most homes, this is either your primary hardwood or luxury vinyl tile (LVT) flooring, or a dramatic natural quartzite or quartz slab for the central kitchen island. Once you lock in that dominant texture, it becomes the visual compass for every adjacent material.
2. The In-Person Reality Check
Digital renderings, mood boards, and Pinterest pins help identify themes, but they can be deceptive under Northern Utah’s distinct high-altitude natural light. Undertones shift dramatically between direct mountain sunlight and ambient interior evening scenes. Never make selections from digital images or small catalog cutouts alone. Take a physical cut of your anchor flooring directly to your cabinet and countertop meetings. Place the wood door sample against the stone slab, layer in your tile grout chips, and observe how the undertones interact under actual daylight.
3. Sequence Your Selections Chronologically
Finish selections must coordinate with the mechanical and structural skeleton behind your walls. Establish cabinetry layouts early because they dictate exact plumbing rough-in locations, appliance power feeds, and kitchen island dimensions. In turn, finalized cabinet boxes establish the precise templating perimeter stone fabricators require. Sequencing selections systematically protects the project timeline and eliminates costly change orders during framing and rough-in.
4. Lean on Trusted Artisan Partners
You don’t have to navigate these decisions in the dark. Our internal drafting and design teams can help. Or you can bring in an outside interior designer or work directly with our long-standing artisan trade partners. Regardless, we walk through each milestone together. By reviewing detailed specification sheets upfront, you can finalize your custom finishes with total confidence and clarity before your dream home starts taking shape.